
Why an 80-Inch Projection Screen Needs More Planning Than a TV
An 80-inch manual projection screen sounds simple: mount it, pull it down, start the movie or presentation. Then reality arrives with a ladder, a crooked wall, a projector that is too dim for the room, and a screen case that blocks the door trim by half an inch.
The supplied VonHaus-style listing has useful clues: 80-inch diagonal size, 16:9 aspect ratio, matte white surface, 1.1 gain, black backing, black border, and wall or ceiling mounting. That is enough to create a helpful buyer checklist, but not enough to treat it as a modern product review.
This guide is for home theater corners, living rooms, small offices, church rooms, training spaces, and presentation setups where a pull-down screen may make more sense than a fixed wall display.
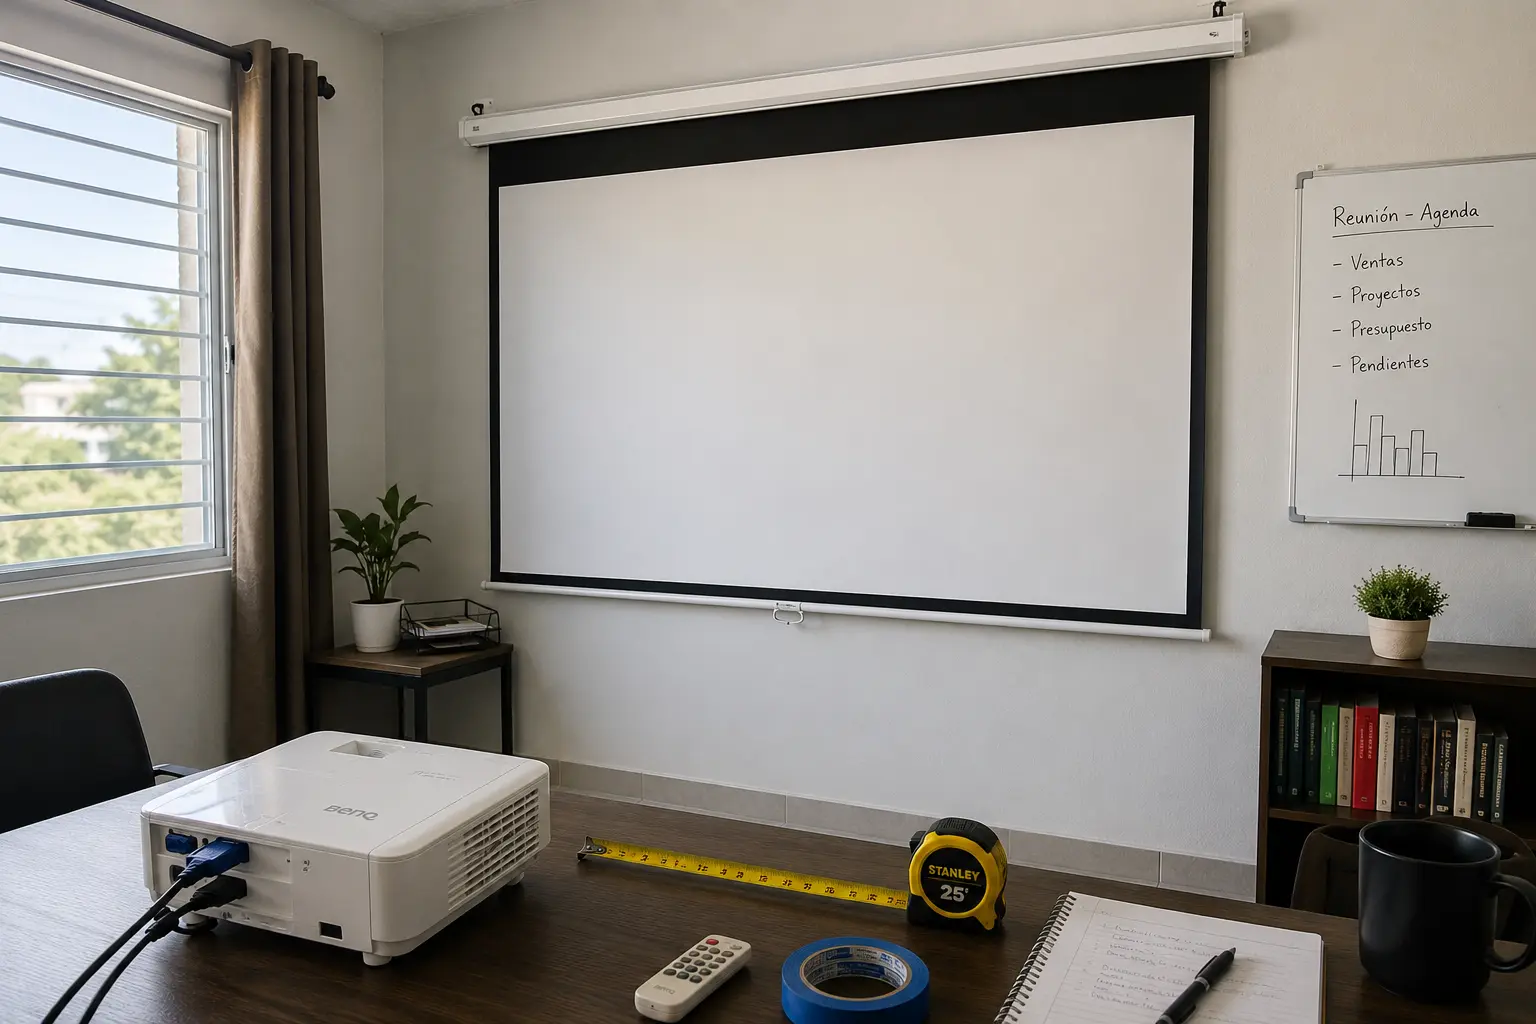
Manual Projection Screen Buying Map
- Why an 80-Inch Projection Screen Needs More Planning Than a TV
- The 60-Second Projection Screen Decision
- What an 80-Inch 16:9 Screen Actually Means
- How to Check the Room Before You Buy
- Mounting, Light, and Manual Screen Mistakes
- What to Do Before the First Movie or Presentation
- Manual Projection Screen Questions People Ask
- References
The 60-Second Projection Screen Decision
- Best for: Living rooms, small media rooms, classrooms, training rooms, small offices, and occasional presentation spaces.
- Main takeaway: Buy the screen only after checking image size, projector throw distance, room light, mounting surface, and seating distance.
- Time, cost, or effort: Expect 20 to 45 minutes of measuring before purchase, plus extra installation time if you need wall anchors, ceiling hardware, or a second person.
- Best result to expect: A clean 16:9 viewing surface that works for movies, slides, and casual presentations without occupying permanent wall space.
- When not to use this: Skip a manual pull-down screen if you need daily professional video conferencing, outdoor use, heavy public-room durability, or perfectly flat image geometry for design work.
What an 80-Inch 16:9 Screen Actually Means
An 80-inch projection screen usually refers to the diagonal active viewing area, not the full width of the screen case. For a 16:9 screen, an 80-inch diagonal image is roughly 70 inches wide by 39 inches high. That matches the supplied listing’s viewing size of 70 inches wide and 39 inches high.
That size can feel large in a bedroom or small office, but modest in a long conference room. The practical question is not “Is 80 inches big?” The better question is “Can the farthest viewer read what is on it?”
For movies, 80 inches may feel comfortable in a smaller living room. For spreadsheets, dashboards, training slides, or software demos, an 80-inch screen can become too small if people are sitting too far back.
Key terms worth knowing
- 16:9 aspect ratio: The widescreen shape used by most HDTV, streaming, and modern presentation content.
- Gain: A screen’s light reflection rating compared with a standard white reference surface.
- Matte white: A common screen surface that works best when room light is controlled.
- Black backing: A rear layer meant to reduce light passing through the screen material.
- Black border: A frame-like edge that helps the projected image look cleaner and more defined.
A realistic room scenario
Picture a small office with 8 to 10 chairs, a portable projector, and a manual screen mounted above a whiteboard. The team wants to show slides, short videos, and occasional training demos.
An 80-inch 16:9 screen may work if the farthest seats are not too far away and the lights can be dimmed. If the back row is trying to read small text from across the room, the same screen may feel undersized. That is why measuring the room matters more than trusting the diagonal size alone.
How to Check the Room Before You Buy
Start with the wall, not the screen listing. Measure the available width, height, and clearance around doors, trim, shelves, lights, ceiling fans, vents, speakers, and windows. A pull-down screen needs room for the case, the drop, and the bottom bar.
Next, check where the projector will sit. A screen that fits the wall can still fail if the projector cannot create the right image size from the available distance. This is where many buyers get stuck. The screen and projector have to work as a pair.
Practical steps before ordering
- Measure the wall or ceiling area where the screen case will sit.
- Confirm that the viewing area, not just the case, fits your seating plan.
- Check your projector’s throw distance for an 80-inch image.
- Decide whether the room can be dimmed enough for a matte white screen.
- Confirm whether the mounting surface can safely hold the screen.
- Leave space for the screen to pull down without hitting furniture or wall decor.
Quick decision guide
- If the room is mostly dark during use, a matte white screen with around 1.0 to 1.1 gain is usually a sensible general-purpose choice.
- If the room has windows, bright lights, or daytime use, projector brightness and ambient light control matter more than the screen description.
- If the room is used for text-heavy presentations, choose screen size based on readability from the farthest seat, not movie impact.
- If the screen must disappear after use, a manual pull-down screen can be cleaner than a fixed frame.
- Skip the purchase if you cannot confirm the mount location, projector distance, or safe hardware before ordering.
Mounting, Light, and Manual Screen Mistakes
Manual screens are attractive because they are simple. No motor. No remote. No app. That simplicity is useful, but it does not remove the need for careful setup.
Wall mounting is usually easier to visualize. Ceiling mounting can look cleaner, but it raises the stakes because the screen hangs overhead. Do not mount a screen into plain drywall without proper support. Use hardware rated for the weight and the mounting surface, and get help from a qualified installer when the surface, height, or hardware is uncertain.
Room light is the other problem. A matte white screen reflects the projector image, but it also reflects room light. In a bright room, blacks can look gray and contrast can fall apart. A screen does not magically fix a weak projector or bad lighting.
Common mistakes
- Buying by diagonal size only: An 80-inch screen may be too large for one wall and too small for a training room.
- Ignoring the projector throw distance: The projector may not create an 80-inch image from your available distance.
- Mounting too high: Viewers should not have to tilt their necks for a full movie or long presentation.
- Forgetting the screen case width: The case can be wider than the active viewing area.
- Expecting daylight TV performance: A projector and matte white screen usually need better light control than a regular TV.
- Pulling the screen unevenly: Manual screens can wrinkle, sway, or retract poorly if handled roughly.
Projection screen comparison table
| Option | Best for | Pros | Cons |
|---|---|---|---|
| Manual pull-down screen | Occasional movies, meetings, classrooms | Affordable, simple, hides when not used | Can wrinkle over time, needs careful mounting |
| Fixed-frame screen | Dedicated home theater room | Flatter surface, cleaner finished look | Always visible, takes permanent wall space |
| Portable tripod screen | Temporary presentations, rented rooms | Easy to move, no wall install | Less polished, more parts to store |
| ALR screen | Brighter rooms and UST projector setups | Better ambient light handling when matched well | More expensive, must match projector type |
| Painted wall | Budget setups and casual use | Cheap, no separate screen hardware | Wall texture and color can hurt image quality |
What to Do Before the First Movie or Presentation
Do a full dry run before inviting people over or using the screen for a meeting. This is not being picky. It prevents the classic “the screen is mounted, but the picture does not fit” problem.
Pull the screen down, turn on the projector, and display the actual content you plan to use. A movie trailer is not enough if the screen will be used for spreadsheets. A clean home screen is not enough if the projector will show training slides with small text.
Check focus, image size, keystone correction, brightness, and sound. If you are using the setup for business, test the laptop connection, HDMI cable length, adapter, and power outlets. A good screen setup can still look unprofessional if the presenter spends five minutes fighting a cable.
The Bottom Line for Manual Projection Screens
An 80-inch manual projection screen can be a smart purchase for a small room, simple home theater, or occasional presentation space. It gives you a clean 16:9 surface without turning the wall into a permanent display.
The decision should not be based on “HDTV ready” language alone. The real checks are screen size, projector distance, room light, mounting support, and what people need to see from the farthest seat.
Build a Simple Screen Test Plan
Before buying a batch of screens for several rooms, test one setup first. Use the same projector, laptop, lighting, and seating distance that people will actually use. For business rooms, test slides with small text. For home theater, test a dark scene and a bright scene.
Final buying checklist
- Measure the wall width, ceiling clearance, and screen drop area.
- Confirm the active image size, not only the diagonal.
- Check projector throw distance for an 80-inch 16:9 image.
- Decide whether the room can be dimmed during use.
- Use safe mounting hardware rated for the surface and screen weight.
- Test with real content before relying on the setup.
- Keep packaging until the screen passes a full room test.
Manual Projection Screen Questions People Ask
Q1. Is an 80-inch projection screen big enough for a living room?
A1. Often, yes. An 80-inch 16:9 screen can work well in a smaller living room or media corner if seating is reasonably close. It may feel small in a long room or for text-heavy presentations.
Q2. What does 1.1 gain mean on a projection screen?
A2. Gain describes how much light a screen reflects compared with a standard reference surface. A 1.1 gain matte white screen is close to neutral and is commonly used for general viewing, especially when room light is controlled.
Q3. Can I use a manual projection screen for business presentations?
A3. Yes, if the screen is large enough for the farthest viewer to read the content. Test actual slides, spreadsheets, dashboards, or software screens before relying on it for meetings.
Q4. Should I mount a projection screen on the wall or ceiling?
A4. Wall mounting is often simpler, while ceiling mounting can look cleaner when the wall is busy or the screen needs to drop in front of another surface. Either way, the mounting surface and hardware must safely support the screen.
Q5. Is a matte white screen good in a bright room?
A5. Matte white screens work best when you can control light. In a bright room, the image can look washed out unless the projector is bright enough and the room lighting is managed.
By: Marcus Irizarry
Why trust this: This guide turns a thin product listing into a practical buyer checklist using the supplied screen details, projection-screen buying guidance, projector brightness references, and display-size planning standards.
Last updated: 2026-06-17
Disclosure: The source HTML included an affiliate-style Amazon reference, but no paid placement influenced this rewrite.
References
- ProjectorCentral — “How to Buy a Projection Screen.” https://www.projectorcentral.com/how-to-buy-a-screen.htm
- Epson — “Projector Guide: Color Brightness.” https://epson.com/projector-guide-how-to-buy-a-projector-color-brightness
- AVIXA — “DISCAS: Analytical and Basic Decision Making Calculations.” https://www.avixa.org/resources/display-image-size-calculators/analytical-and-basic-decision-making-calculations
- Elite Screens — “The Difference Between Matte White and CineGrey 3D.” https://elitescreens.com/2017/10/the-difference-between-matte-white-and-the-cinegrey-3dambient-light-rejecting-projector-screen/



0 Comments